Research News
Customized surface inspection
The quality control of component surfaces is a complex undertaking. Researchers have engineered a high-precision modular inspection system that can be adapted on a customer-specific basis and integrated into the production process.
Before a workpiece leaves the production plant, it is subjected to rigorous inspection: because even the most infinitesimal fracture or impact point could diminish the reliability or durability of a component. And when it comes to safety-critical applications – such as in the automotive or aerospace industries – manufacturers can only use the most impeccable parts. But esthetic aspects also count - for example, with ceiling panels or components for the cabin of the automobile.
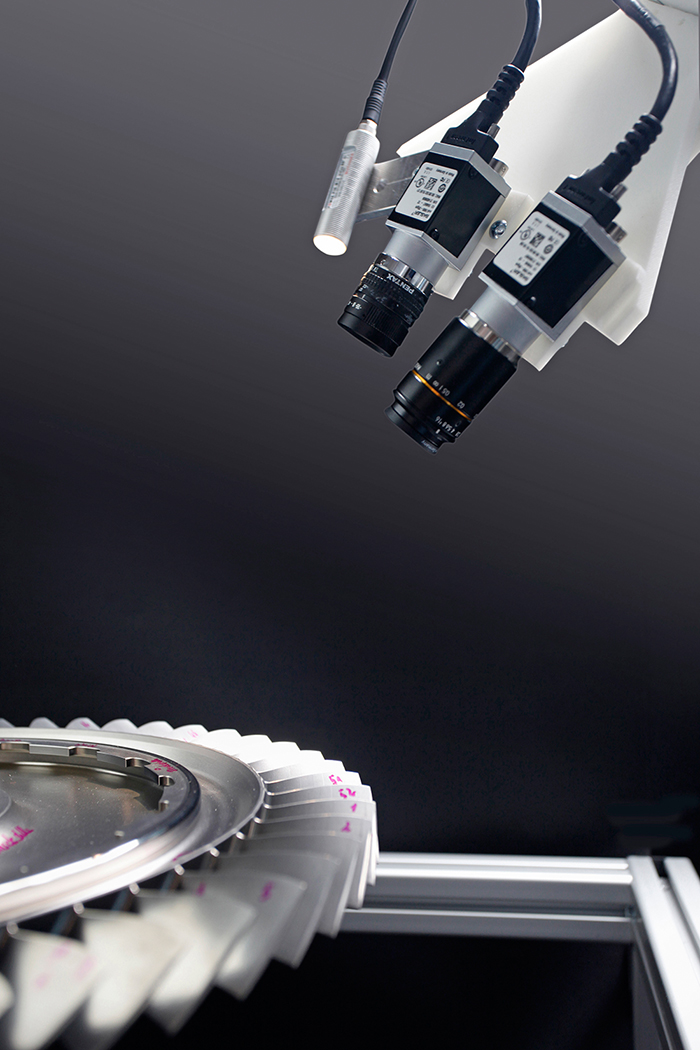
In order to check a component, manufacturers apply image processing methods. Multiple cameras take pictures of component surfaces from various angles, which are analyzed by a software program.“Every material substance has its own unique surface structure. In order to evaluate its quality, the testing procedure has to be gauged precisely to these specific properties,” explains Markus Rauhut of the Fraunhofer Institute for Industrial Mathematics ITWM. Even the size and shape of a component play a role – as well as the desired resolution of the images. Even though there is an array of surface inspection systems on the market already, these are only configured for specific materials and dimensions. Standard solutions cannot cover the entire spectrum of possible testing objectives. The researchers at ITWM have closed this gap: The scientists from Kaiserslautern engineered a modular inspection system they have dubbed “MASC: Modular Algorithms for Surface InspeCtion,” which can be modified to customer-defined specifications. “Our system is suited for the most diverse materials – like metals, leather, textiles or paper – and covers a size range from tiny components for medical technology through to entire sheets of rawhide or ceiling panels,” Rauhut adds. MASC-STeX for the inspection of cover plates and MASC-Dehnzelle for the inspection of expansion cells are already in practical use in the industry.
Basic version with over 300 algorithms
First, the surface of the workpiece is illuminated and scanned using multiple cameras set at a wide range of angles.“This is important, so that you can also pick up impact points or fractures that are only visible from one side,” explains Rauhut. With free-formed surfaces, regions are also recorded in this manner that are covered by curvatures or corners. The more complex the geometry, the more cameras are needed, as a rule.”To keep the costs within limits, we are concentrating on areas in a practical setting in which a defect would actually have negative implications,” the researcher said. For the analysis of the images, the scientists have developed mathematical evaluation algorithms and from this, built up a comprehensive software library.“For instance, one algorithm is programmed to find edges or certain color points in the image,” explains Kai Taeubner of ITWM. The basic version of the software alone comprises more than 300 algorithms that could also be combined, depending on the testing task.
One particular challenge includes those inspection procedures that require very high resolution. No surface is quite homogenous; indeed, they feature small scratches or fluctuations in brightness. For projects where resolution reaches the microscopic level, it becomes increasingly difficult to differentiate between anomalies in the surface texture and actual defects. The consequence: components that are actually free of defects get sorted out as defective.“That is another advantage of our procedure: With the aid of our algorithms, we can refine the analysis to such a degree that incorrectly identified flaws become virtually eliminated,” Taeubner indicates.
Once all testing parameters are set, the procedure is integrated into the production process with the customer. The cameras are either installed directly on the assembly line for this purpose, or applied using robots. When a defect is found, the production process automatically stops; at the same time, the machine operator is notified. The detected defects are classified and the test object is divided into quality classes.
