Surface Inspection of Vehicle Brake System Components

The quality requirements for the mass produced components for the automobile industry are constantly increasing. This is certainly true for the manufacturing of deep drawn (thermoformed) components that exhibit especially difficult surface properties. In cooperation with partners Continental and Hubert Stüken, a specialist for deep drawing technology, ITWM has succeeded in developing a robust, highly accurate inspection system for brake shoes, which is suitable for use in demanding industrial applications.

As a result of the production methods, surface defects or special points of impact may form on the still untempered components. The automatic detection of these defects is necessary to warranty the tightness of the components when installed. A maximal inspection time of three seconds per component is required. The brake shoes typically consist of two pieces of steel, an inner and an outer, welded together. Impact points of a length of 0.3mm must be detected in specified areas of both sides.

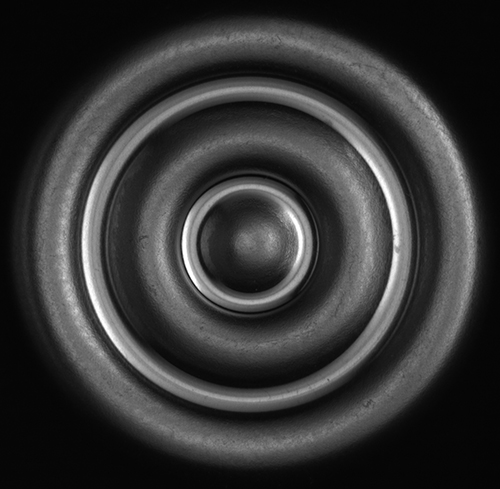
Original view of brake shoe.
© Fraunhofer ITWM
Original view of brake shoe.
Processed images with high resolution line camera.
© Fraunhofer ITWM
Processed images with high resolution line camera.
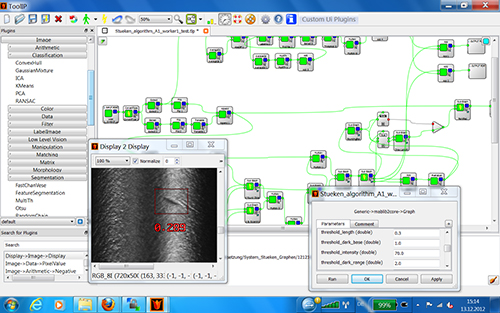
Screenshot image processing software ToolIP.
© Fraunhofer ITWM
Screenshot image processing software ToolIP.

Challenges

The advanced free-form nature and the complexity of the brake shoe geometry posed a unique challenge for automated inspection systems. Another challenge is presented by the very high optical resolution required. Consequently, the depth of focus is greatly reduced, while at the same time, any roughness in the surface of the base material comes to the foreground. A compromise had to be found between the required resolution and the depth of focus.

The inspection system consists of a high resolution (4096 pixel) monochrome line scan camera station, with three high power LED ring lightings. The use of line scan camera enables the complete diameter of the brake shoes to be imaged. Images of impact points are taken in the direction of the lateral exposure as well as away from it in one rotation. In this way, even impact points with edges that are flattened on one side, or are not very pronounced, are still detected. The brake shoe evaluation is accomplished objectively and the inspection results are documented. The system, which enables 100% control, is easily operated by trained operators without any special knowledge of image processing. This ensures that no NOK parts will be further processed, which if processed could result in later complaints. Complex, sophisticated, parallelized algorithms make it possible to quickly and reliably identify defective components early in the production process, which consequently leads to significant time and cost savings.

Publications:

  • Taeubner, K.; Maasland, M.; Briesewitz, R.; Fischer, S.:
    100-Prozent-Oberflächeninspektion von Dehnzellen.
    QZ-Magazin Jg. 58 (2013) 4, Carl Hanser Verlag, S. 46-48.